Transforming backyard rocks into art can add a unique and personal touch to your outdoor space. Here’s a breakdown of ideas and techniques to help you get started:
1. Preparation and Gathering:
- Rock Selection:
- Assess the rocks you have. Consider their size, shape, and texture.
- Larger, flatter rocks are ideal for painting detailed designs.
- Smaller, irregular rocks can be used for mosaics or stacked sculptures.
- Cleaning:
- Thoroughly wash the rocks with soap and water to remove dirt, moss, or debris.
- Allow them to dry completely before any painting or crafting.
2. Art Techniques:
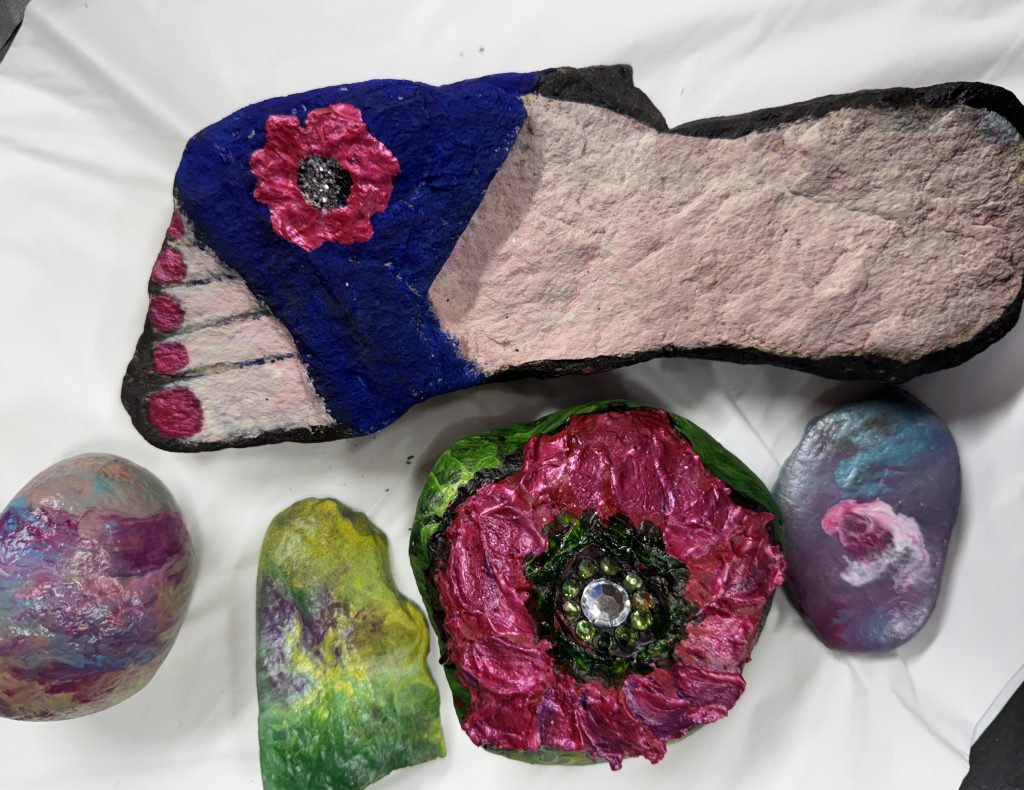
- Painting:
- Themes:
- Nature-inspired: Paint animals, insects, flowers, or miniature landscapes.
- Mandalas and patterns: Create intricate designs for a calming effect.
- Inspirational messages: Add quotes or words to create a positive atmosphere.
- Character rocks: Transform rocks into whimsical creatures or characters.
- Materials:
- Use weather-resistant acrylic paints designed for outdoor use.
- Apply a clear sealant to protect the paint from fading or chipping.
- Themes:
- Mosaics:
- Break larger rocks into smaller pieces and arrange them to create patterns or images.
- Use a strong outdoor adhesive to secure the pieces to a base, such as a larger flat rock or a concrete surface.
- Stacked Rock Sculptures:
- Carefully balance and stack rocks of varying sizes to create sculptures.
- This can be a meditative and visually appealing way to add a natural art element to your yard.
- Rock Gardens:
- Arrange rocks of different sizes and shapes to create a visually interesting rock garden.
- Combine with drought-tolerant plants like succulents for a low-maintenance display.
- Pebble Art:
- Arrange small pebbles into designs. those designs can then be glued to a backing board, and placed outside in protected areas.
3. Ideas for Your Backyard:
- Garden Markers: Paint plant names or images onto small rocks and place them near your plants.
- Pathways and Borders: Use painted or mosaic rocks to create decorative pathways or borders around flower beds.
- Fairy Gardens: Incorporate small painted rocks into fairy gardens to create whimsical scenes.
- Water Features: Place larger, smooth rocks around water features to enhance their natural beauty.
Important Considerations:
- Weather Resistance: Use paints and sealants that are designed for outdoor use to ensure your artwork withstands the elements.
- Safety: When stacking rocks, ensure they are stable to prevent them from falling.
- Environmental Impact: Be mindful of the environment when using paints and sealants.
By using these tips, you can transform ordinary backyard rocks into unique and beautiful works of art that enhance your outdoor space.